Create a minimal ASP.NET Core 2.0 MVC web application

This guide shows you how to set up a ASP.NET Core 2.0 MVC web application from an empty template.
You can create a project using the MVC template in .NET Core but it will often include a load of things that we don't need. My preference is always to start a project from scratch.
Here are the steps to go from an empty project to an MVC ready project.
Requirements
You will need to install the following:
- The latest .NET Core SDK
- Visual Studio 2017 v15.3
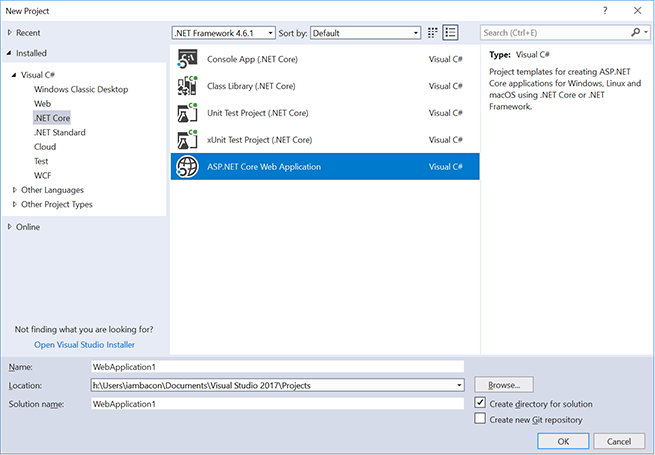
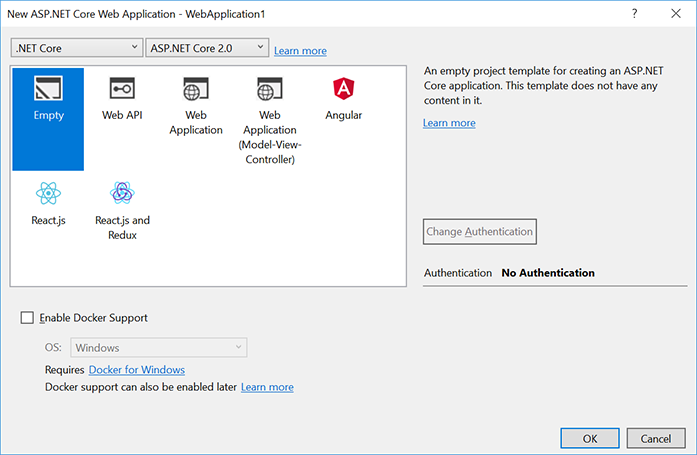
First, create a new ASP.NET Core Web Application and choose the empty template, making sure you are targeting ASP.NET Core 2.0
The empty project contains little more than wwwroot, Program.cs and Startup.cs. It may seem a little unusual that Program.cs is in there but web apps are now essentially console applications and contain a Program.cs just the same as a console app would. This means web apps can now be run from the command line.
The default code in Startup.cs contains:
app.Run(async (context) =>
{
    await context.Response.WriteAsync("Hello World!");
});
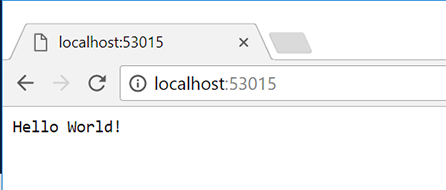
This writes "Hello World!" in the response stream. Press F5 and you should see the result in the browser.
Now install MVC via NuGet Package Manager:
Install-Package Microsoft.AspNetCore.Mvc -Version 2.0.0
Once installed there are a couple of things we'll need to add to Startup.cs. Firstly configure the app to use the MVC framework.
public void ConfigureServices(IServiceCollection services)
{
    services.AddMvc();
}
Secondly, configure the app to use the MVC request execution pipline (routing), with a default route.
public void Configure(IApplicationBuilder app, IHostingEnvironment env)
{
    app.UseMvc(routes =>
    {
        routes.MapRoute(
            name: "default",
            template: "{controller=Home}/{action=Index}/{id?}");
    });

    // ...
}
Now that the MVC framework has been added lets add a Controller and a View!
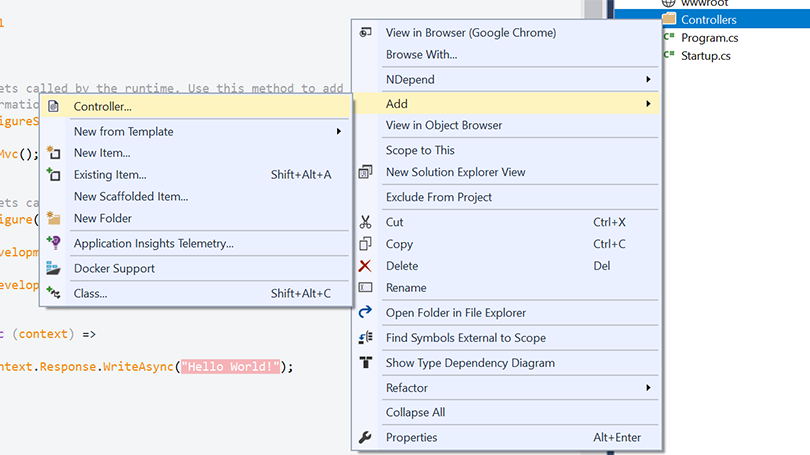
Add a new folder called Controllers to the project and right click to add a Controller.
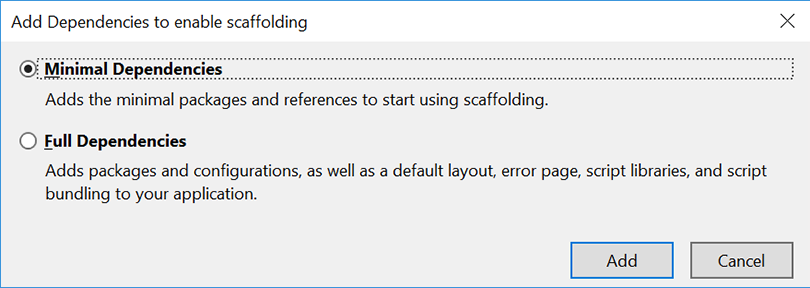
As we are going for a minimal install we'll select Minimal Dependencies as we only want to install the minimum required.
This adds scaffolding to the project and now the MVC templates for Controllers and Views will work. When it has finished right click and add a Controller again.
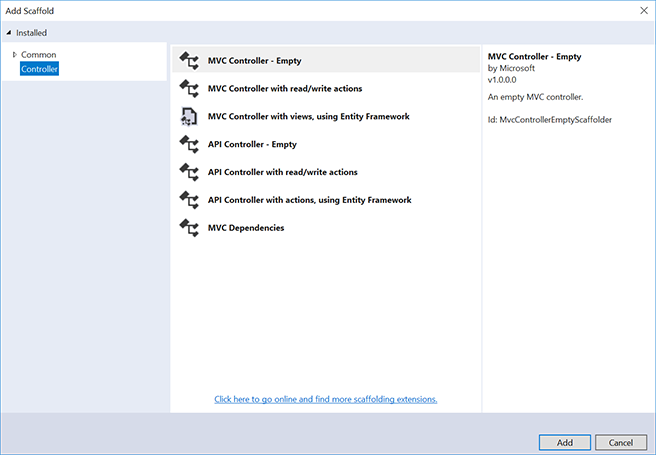
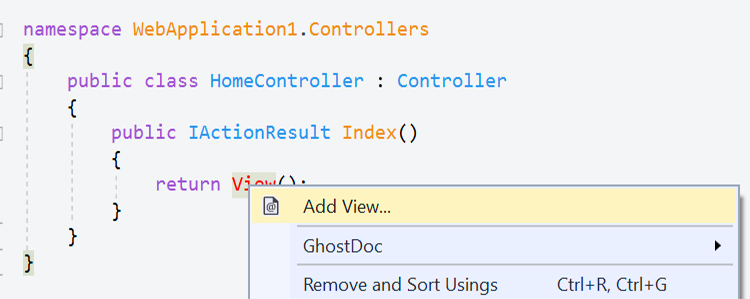
Choose an empty MVC template and call it HomeController. The controller will be added with a default method called Index. Right click on View() and select AddView...
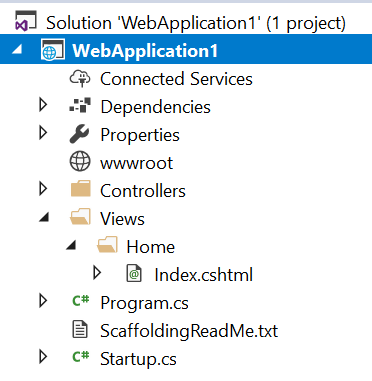
When the scaffolding creates the view it will also create the correct folder structure for us. You will see that Index.cshtml is located in Views -> Home.
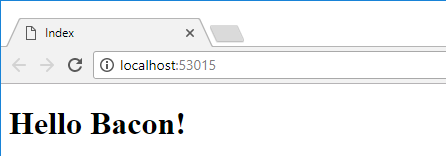
Add a little HTML into Index.cshtml
<h1>Hello Bacon!</h1>
And then run the app, it should show in the browser
And we're done!
Summary
Setting up a project from an empty template is always my preferred approach and as you can see it is very simple and quick to set up an MVC app using ASP.NET Core 2.0. Give it a try!